In Megabonk, survival isn’t just about choosing the best characters—items play an equally crucial role. Some items are universally strong and fit into nearly any build, while others only shine in very specific setups. When you’re picking up items during your run, it’s important to focus on the ones that boost your survivability and damage output, rather than wasting space on situational picks. This guide breaks down which items in Megabonk are worth prioritizing—and which ones you can safely skip.
Table of Contents
Megabonk Item Tier List
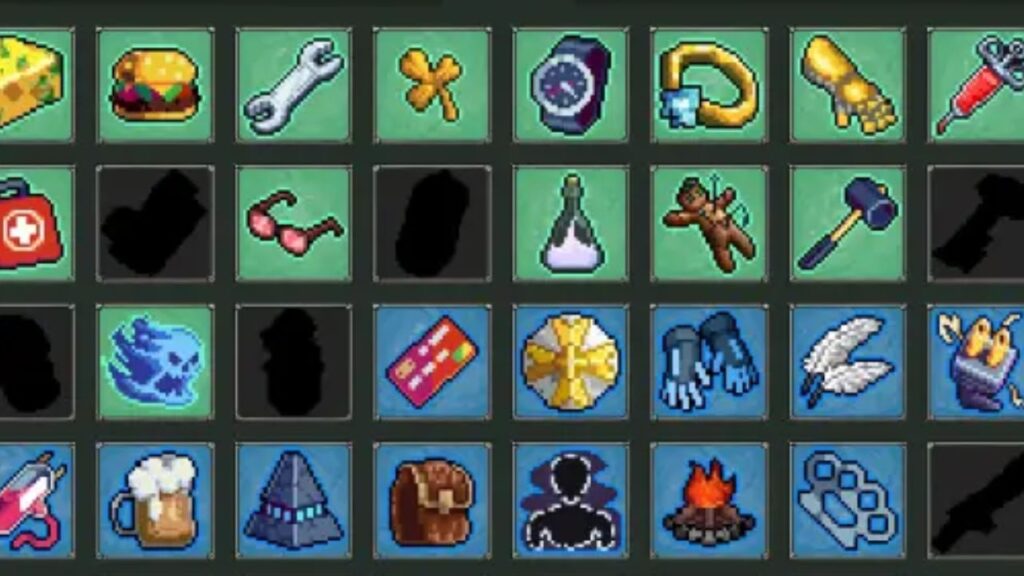
Here's a quick overview of all the items ranked by tier. S-tier items are the strongest and work with almost any build, while C-tier items are situational at best.
| Tier | Items |
| S | Anvil, Za Warudo, Holy Book, Forbidden Juice, Sucky Magnet, Ice Cube, Gym Sauce, Dragonfire, Moldy Cheese, Chonkplate, Overpowered Lamp, Turbo Socks, Gas Mask, |
| A | Lightning Orb, Demonic Soul, Turbo Skates, Soul Harvester, Giant Fork, Beacon, Toxic Barrel, Coward's Cloak, Spicy Meatball, Shattered Knowledge, Cactus, Eagle Claw, Clover, Kevin, Demonic Blade, Phantom Shroud |
| B | Golden Sneakers, Mirror, Big Bonk, Scarf, Slutty Cannon, Beefy Ring, Joe's Dagger, Power Gloves, Brass Knuckles, Golden Glove, Phantom Shroud |
| C | Tactical Glasses, Campfire, Bloody Cleaver, Golden Shield, Idle Juice, Electric Plug, Leeching Crystal, Slurp Gloves, Golden Sneakers |
Create and share your own tier lists.
Browse or create new tier list topics.
S-Tier Items - Best Items in Megabonk
These are the items you want in pretty much every run. They're strong, reliable, and work with almost any character or weapon.
- Anvil is hands down one of the best items in the game. When you pick this up, all your weapon upgrades will give you three stats instead of two. This makes your weapons way stronger as the game goes on, and it works with every single weapon type.
- Za Warudo basically gives you an extra life. When you take a fatal hit, it restores your full HP and freezes time. You can stack this item too, so each duplicate gives you another chance. This item alone can save your run during tough boss fights.
- Holy Book gives you more max HP and HP regen without any downsides. The best part? Every time you heal, nearby enemies take damage. If you're building around health, this item is a must-have.
- Forbidden Juice adds 10% crit chance, which is huge for crit builds. If you're trying to make a guaranteed crit build, this item is essential.
- Sucky Magnet pulls in all the XP around you automatically. You don't need to worry about pickup range anymore, and you'll level up way faster. This speeds up your entire run.
- Ice Cube deals ice damage and can freeze enemies in place. More duplicates mean higher freeze chance, which gives you breathing room when things get chaotic.
- Gym Sauce is super simple but super effective. It gives you 10% more damage on every single hit. This works with any character, any weapon, and any build. You can't go wrong with flat damage.
- Dragonfire inflicts burn damage on enemies, and you can stack it to increase the proc chance. The damage scales really well into the late game, making it great for dealing with tougher enemies and bosses.
- Moldy Cheese gives you high poison chance against both regular enemies and bosses. Poison stacks are one of the best ways to deal damage over time, even if you're not playing a poison character.
- Chonkplate is the only item that lets you overheal beyond your max HP. This means you can stack temporary health on top of your regular health bar. Combined with lifesteal, this creates some really tanky builds that are hard to kill.
- Overpowered Lamp increases your proc chance for elemental effects. Since most weapons in Megabonk deal elemental damage, this helps you trigger burns, freezes, and poisons more often.
- Turbo Socks gives you 15% movement speed, which is really noticeable on slower tank characters. Movement speed helps you dodge attacks and reposition during fights.
- Gas Mask is perfect for poison builds, especially if you're playing Amog. It gives you armor and lifesteal based on how many enemies you've poisoned. Stack a few of these and you'll be almost unkillable.
A-Tier Items - Really Good in Most Situations
These items are strong and work well in most builds, though they might be more specific than S-tier picks.
- Lightning Orb is the best item for AoE damage and stuns enemies it hits. If you're using the Lightning Staff, grab this immediately. It works well with any projectile build too.
- Demonic Soul increases your damage with every kill. The duplicates stack together, letting you reach up to 100% bonus damage if you collect enough.
- Turbo Skates converts your movement speed into attack speed. This pairs really well with Turbo Socks, since you can turn all that extra movement into faster attacks.
- Soul Harvester generates homing souls every time you kill an enemy. Free damage that seeks out targets is always good.
- Giant Fork transforms your crits into megacrits that deal massive damage. It's especially strong on CL4NK, but if you're not running a crit build, you can skip it.
- Beacon turns charge shrines into healing zones and spawns two extra shrines per stage. More shrines mean more stat boosts and more healing spots before boss fights.
- Toxic Barrel releases toxic waste when you take damage, poisoning nearby enemies. This synergizes really well with Amog and other poison builds.
- Coward's Cloak permanently increases your movement speed and gives you a temporary speed boost when you take damage. This can literally save your life when you're surrounded.
- Spicy Meatball makes your hits explode for extra AoE damage. This helps you clear big groups of enemies in the later stages.
- Shattered Knowledge lets you use XP shards to damage enemies. The more XP you're gaining, the more damage this deals. It stays useful throughout your entire run.
- Cactus shoots spikes every time you take damage. This basically turns your defense into offense, and the damage scales with your thorns stat.
- Eagle Claw deals extra damage to airborne enemies and has a chance to knock enemies into the air. If you're fighting bees, wisps, or ghosts, this item shreds them.
- Clover increases your overall luck, which means you'll see better tomes and items throughout your run. It works just like the Luck Tome.
- Kevin is interesting because it can make you nearly immortal if you combine it with the Mirror item. It's great for on-hit builds, but without other lifesteal items, it can actually hurt you.
- Demonic Blade heals you when you crit, making it perfect for crit-focused builds. Stack it to increase your crit chance even more.
- Phantom Shroud temporarily boosts your attack speed and movement speed after you evade. You also deal double damage after evading. This works best with the Evasion Tome or high-movement builds.
B-Tier and C-Tier Items - Usually Not Worth It
Here's the thing about B and C-tier items. They're either too situational or just plain weak compared to what else you could be grabbing. B-tier items like Beefy Ring or Scarf can work if you're building specifically around them, but they're not flexible enough to fit into most runs. A lot of them only shine with certain characters or playstyles, and even then, they're just okay.
The bigger problem is that many of these items have really low proc chances or effects that don't scale well. Big Bonk sounds cool with 20x damage, but good luck seeing that 2% chance actually trigger when you need it. Same with Joe's Dagger and its 1% execute chance. You can't build a strategy around something that barely happens.
C-tier items are even worse because they either have terrible trade-offs or require you to play in ways that'll get you killed. These items have such narrow use cases or weak effects that you're better off saving your silver for literally anything else.
The main issue with lower-tier items is they don't help you survive the late game. When enemies start hitting harder and spawning in bigger groups, you need items that consistently make you stronger. B and C-tier items just don't deliver that reliability. Skip them unless you're absolutely committed to a very specific build that needs them.